Handyman Estimate Template: Free Printable Template & How to Create One
A free handyman estimate template for Word, Excel, and PDF — plus the pricing math behind labor, materials, and markup so your estimates win more jobs.

Winning a handyman job rarely comes down to being the cheapest option. It comes down to being the most organized, the most professional, and the fastest to respond with a clear, itemized price. A handyman who sends a clean, branded estimate soon after an inquiry consistently wins more work than one who calls back the next morning with a verbal number.
A professional handyman estimate template is what makes that speed and professionalism possible without starting from scratch on every job. This guide gives you a complete free template you can use immediately, a step-by-step process for building accurate estimates, the pricing math behind labor and materials, and a clear breakdown of when a template is enough versus when estimating software becomes the right investment.
What Is a Handyman Estimate Template?
A handyman estimate template is a blank version of your estimate form that you fill in with the details of each job after a site visit or customer conversation. You'll find templates as fillable PDFs, Word or Google Docs files, Excel or Google Sheets spreadsheets, or built directly into invoicing and estimating software.
The template is the structure. You fill it in with the specifics of each job — the customer's information, the scope of work, labor hours and rate, materials needed, and any additional fees — and the result is a professional document you can send before work begins.
A good template does more than save time. It keeps you organized, cuts down on missed details, makes you look more professional than a handwritten estimate, reduces repetitive data entry, helps you track your own rates and expenses over time, and sets clear expectations with the customer up front.
Handyman Estimate vs. Handyman Invoice
An estimate is sent before the job begins — it tells the customer what the work will cost and asks them to approve the scope and price before any labor or materials are committed. An invoice is sent after the job is complete, confirming what's actually owed for the work performed.
The key difference is that an estimate is a projection based on your assessment of the job, while an invoice is a record of what actually happened. A well-built estimate becomes the reference point that heads off the kind of payment dispute that comes up when a final invoice surprises a customer expecting a different number. In the best workflows, an approved estimate converts directly into an invoice with no re-entry — one of the real advantages of software-based estimating over a standalone template.
Why Use a Handyman Estimate Template?
Most homeowners contact more than one contractor before deciding who to hire, and they're often comparing responsiveness and professionalism as much as price. A clean, itemized estimate signals that your business is organized, that you've thought through the full scope of the job, and that there won't be surprises when the invoice arrives. A ready-to-use template is what makes a fast, professional response realistic instead of something you're rebuilding from scratch every time a lead comes in.
What Should a Handyman Estimate Include?
A complete estimate should include your business name, logo, and contact details; the customer's name and contact details; a unique estimate number for your records; a detailed description of the work; the approximate cost broken into labor, materials, markup, and any applicable tax; a note on what's specifically not included; how long the estimate stays valid; and your payment terms and warranty information.
Here's each section in more detail.
Customer and Business Information
Your business section should include your legal business name, logo, phone number, email, and service area. The customer section should include their full name, service address (which can differ from their mailing address), phone number, and email. A simple sequential estimate number — EST-0047, for example — makes it easy to reference a specific estimate later if questions come up.
Description of the Job
This is the section most handymen underwrite. Be specific rather than general. “Drywall repair” is vague. “Patch and sand one 6-inch drywall hole in living room wall, apply joint compound in two coats, sand smooth, and prime for painting — painting not included” leaves no room for misunderstanding once the job is done.
Also state clearly what isn't included. If the customer mentioned painting and you're only patching and priming, write “painting not included” directly on the estimate — this heads off the single most common source of disputes.
Labor Costs
Break labor out as its own line item or set of line items, showing estimated hours, your rate, and the resulting total. If a job involves several distinct tasks with different time requirements, list them separately so the customer can see where the money goes.
Materials and Supplies
Itemize every material with quantity and unit cost. A customer who can see what they're paying for trusts the number more than one looking at a single lumped total. Apply your markup — typically 20% to 30% above your acquisition cost — before the customer-facing price is listed, rather than showing it as a separate line.
Additional Fees
A service call fee, travel charge, disposal fee, or permit cost belongs in its own line rather than folded quietly into labor or materials. Keeping these visible keeps the estimate transparent and defensible if a customer ever questions it.
Estimated Total Cost
The subtotal of labor, materials, and additional fees, followed by any applicable tax and the final total. Some handymen also list a required deposit here.
Terms, Payment Details, and Expiration Date
Include your payment terms, accepted payment methods, and how long the estimate is valid. Thirty days is standard — beyond that, material prices, your availability, and the scope may all have shifted enough to warrant a fresh quote. State accepted payment methods, your deposit requirement if any, and a brief workmanship warranty (commonly 30 to 90 days) to round out the terms.
Printable Handyman Estimate Template
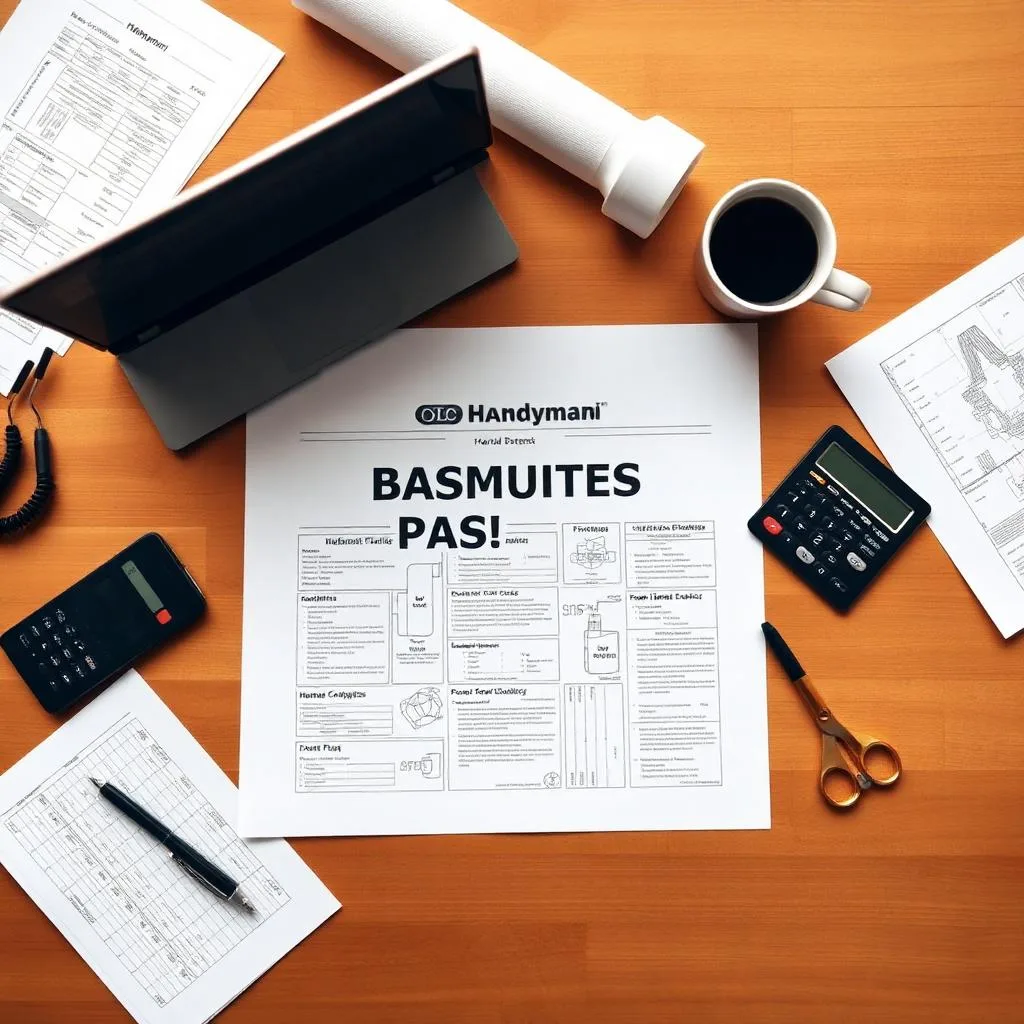
Copy the layout above into Word, Google Docs, or Pages, format it to a standard 8.5" x 11" page, add your logo and business colors, and save it as your standard estimate form. Print a stack of blank copies for customers who prefer paper, or keep a digital version to fill in and email before you leave the job site.
Handyman Estimate Template in Word
In Word or Google Docs, turn the layout into formatted tables (Insert > Table) so it prints cleanly. Apply your business fonts and colors, then save the file as a template (.dotx in Word) so you always open a fresh blank copy instead of overwriting a previous estimate. A one-page estimate looks cleaner and is more likely to be read in full than one that spills onto a second page.
Handyman Estimate Template in Excel
A spreadsheet version calculates automatically — enter hours, rate, quantities, and unit prices, and Excel or Google Sheets totals everything without manual math, which eliminates the most common estimate error: arithmetic mistakes. Set up separate columns for description, quantity, unit price, and line total, use a SUM formula for each subtotal and the grand total, and add a markup cell that applies your standard percentage automatically.
Handyman Estimate Template in PDF
A PDF is the most professional format to send because it can't be easily edited, displays consistently on every device, and opens without any particular software on the customer's end. Once your Word or Excel version is built, export it as a PDF using File > Download As > PDF, or File > Print > Save as PDF.
How to Create a Handyman Estimate Step by Step
Step 1: Understand the customer's project. Visit the site or have a thorough phone conversation before writing any numbers down. What a homeowner describes over the phone and what the job actually involves are often different, and that gap is where most underpricing happens. Note the prep, the repair or installation itself, cleanup, disposal of old materials, and anything that could complicate the job — tight access, unusual materials, or damage that might expand once you open things up.
Step 2: Calculate labor costs. Estimate total hours — including setup, the work itself, cleanup, and any time spent sourcing materials — and multiply by your hourly rate, or apply your flat rate for the type of work involved. Your rate should already account for overhead, taxes, and profit margin, not just the wage you'd like to earn per hour.
Step 3: Estimate materials. List every material the job requires with quantities based on your site measurements, and price them from current supplier costs rather than memory — prices shift, and an estimate built on outdated numbers creates problems if the job runs over. This kind of pricing is often called T&M (time and materials) work among handymen, and it's worth factoring in the time it takes to shop for parts and travel to the site, not just the materials themselves.
Step 4: Add additional expenses. List anything outside labor and materials separately — service call fees, travel charges, disposal fees, permit costs, or equipment rental. Customers can see and understand individual line items; they can't verify costs buried inside an opaque hourly rate.
Step 5: Calculate the total estimate. Add your labor, materials, and fee subtotals, apply any sales tax that's applicable to materials in your state, and review the math before sending. A calculation error on the estimate becomes an uncomfortable conversation later if the invoice doesn't match.
Step 6: Send the estimate to the customer. Send it as soon as possible after the site visit — customers comparing multiple handymen tend to book whoever responds first with a clear, professional number. Email a PDF or text a link rather than reading numbers over the phone, so the customer has something concrete to review, and follow up if you haven't heard back within 48 hours.
How to Calculate a Handyman Estimate
Hourly rate vs. flat-rate pricing. An hourly rate charges for the time spent — the customer pays until the job is done. A flat rate charges a fixed price regardless of how long the job takes. Hourly pricing protects you on unpredictable jobs, like troubleshooting or repairs whose extent isn't clear until you start. Flat-rate pricing rewards efficiency on familiar jobs — if a TV mount reliably takes ninety minutes, pricing it at a rate that reflects that means finishing in seventy-five minutes earns you more per hour without the customer feeling overcharged. Most experienced handymen mix the two: flat rates for common, well-understood services and hourly rates for diagnostic or unusual work.
How to estimate labor hours. Start with the core task and add time for everything around it — arriving and unloading, assessing the job on-site, prep, the work itself, cleanup, and writing up the invoice. New handymen consistently underestimate time by forgetting these surrounding steps. Keeping a simple time log for your first several dozen jobs, comparing actual time against your estimate, builds a personal reference that makes future estimates far more accurate.
How to calculate material costs. List every item with quantity needed and look up current prices rather than estimating from memory. Add a 10% to 15% buffer to account for waste and the occasional item that needs replacing — it's better to slightly over-order and return unused materials than run short mid-job and need a second supply trip that eats into your schedule.
Adding a markup to materials. Markup compensates you for the time spent sourcing, purchasing, and transporting materials — real work that isn't captured anywhere else on the estimate. A standard range is 20% to 30% above your acquisition cost. What matters most is applying your markup consistently from job to job rather than adjusting it case by case, which keeps your pricing easy to defend if a customer ever asks about it.
Example Handyman Estimate
A drywall repair job (two holes, sanded and primed, ready for the customer to paint) at a $75 hourly rate with a 25% material markup breaks down like this: 2.5 hours of labor comes to $187.50. Materials — drywall compound, mesh tape, primer, and sandpaper — total roughly $55 before markup, or about $69 after a 25% markup. Add 8% tax on the materials portion, and the total estimate lands around $260.
Handyman Pricing Spreadsheet Template
For a single running spreadsheet you can reuse across jobs rather than a one-off document each time, build it around these columns:
- Labor cost — description, hours, hourly rate, and a subtotal formula (hours × rate)
- Material cost — item, quantity, unit cost, your markup percentage, and a subtotal formula
- Travel or service fees — a separate line for any trip charge or minimum service fee, kept visible rather than folded into labor
- Taxes and discounts — a field for applicable sales tax, and a discount field if you occasionally offer one
- Final project price — a total row summing everything above, along with a deposit percentage and remaining balance due on completion
Building this once and saving it as a reusable template means every new estimate starts from the same structure instead of being rebuilt from scratch.
Why Professional Handyman Estimates Help You Win More Jobs
Build customer trust. A clear, itemized estimate tells a homeowner you've thought their project through carefully and that there won't be surprises when the invoice arrives.
Avoid pricing confusion. Verbal price agreements get misremembered by both sides. A written estimate creates a shared record, so the final invoice confirms what was already approved instead of surprising anyone.
Reduce disputes. The clearer the estimate, the fewer openings there are for disagreement later. When a customer claims painting was included and your estimate clearly states “painting not included,” the document settles it before it becomes an argument.
Make your business look professional. A typed, branded, itemized estimate makes an immediate impression about the business behind the work — a real differentiator next to a handyman who sent a verbal quote or a bare number in a text message.
Close jobs faster. An estimate that answers every likely question up front — scope, cost, timeline, terms, warranty — removes the back-and-forth that delays a decision. A complete document gets approved with a single reply; an incomplete one invites follow-up questions that slow the customer down.
Handyman Estimate Template vs. Estimating Software
When a free template is enough. A free template in Word, Excel, or PDF works well when you're just starting out, sending a handful of estimates a week, and your jobs are simple enough that a basic cost breakdown covers everything. It costs nothing and produces a professional-looking result — its main limitation is that every entry is manual, it doesn't connect to your scheduling or customer records, and approved estimates still require a separate invoicing step.
When you should use handyman estimating software. These limitations start to matter once your estimate volume grows. Retyping the same customer details on every job, manually converting each approved estimate into a separate invoice, and having no visibility into which estimates are still pending all cost real time once you're sending five or more estimates a week.
Benefits of automated estimates. Estimating software auto-fills customer records, calculates totals instantly as you adjust line items, and lets you send a branded PDF straight from your phone at the job site instead of building it later at a desk. It also converts an approved estimate into an invoice with a single click and can send automated reminders for estimates that haven't gotten a response. If you're weighing whether to make that switch, our guide to essential handyman tools covers the broader mix of physical and digital tools worth investing in as your business grows — and a fast, organized estimate process pairs naturally with the kind of mobile-friendly contractor website that turns those estimates into booked jobs in the first place.
Frequently Asked Questions About Handyman Estimates
How do I write a handyman estimate? Assess the full scope of work at the site, list every task and material needed with current prices, apply your markup, add any fees, and total everything. Format it clearly with your business and customer information, a validity date, and your payment terms, then send it as soon as possible after the visit.
What should a handyman estimate include? Business and customer contact information, an estimate number, a detailed job description, itemized labor and materials, additional fees, the total cost, what's not included, and your terms — validity period, payment methods, and warranty.
Is there a free handyman estimate template? Yes — the template in this guide covers every section a professional estimate needs and can be copied directly into Word, Excel, or a PDF at no cost.
Can I make a handyman estimate in Excel? Yes, and it's a strong option if you send estimates regularly, since you can build in formulas that calculate labor, materials, and totals automatically. The Handyman Pricing Spreadsheet Template section above gives you the structure to build it.
Can I create a handyman estimate in Word? Yes. Word and Google Docs both support clean, printable table layouts that export easily to PDF. Copy the template into Word, apply your branding, and save it as a template file so you're never starting from a blank page.
What is the difference between an estimate and a quote? Most handymen use the terms interchangeably, though some treat a quote as a firmer, fixed-price commitment and an estimate as a close approximation that can shift slightly once work is underway. Whichever term you use, being clear about which one you're offering avoids confusion.
How much should a handyman charge for an estimate? Most handyman businesses provide estimates free for standard residential jobs, treating it as part of winning the work. Some charge a $50–$150 service call fee for jobs that require significant travel or a lengthy diagnostic visit, often crediting it toward the job if the customer moves forward.
Final Thoughts
A professional handyman estimate template costs nothing, takes a few hours to set up, and immediately changes the impression your business makes on every potential customer who receives a clear, itemized, branded document before deciding whether to hire you. Start with the free template above, build your pricing around real labor and material costs rather than rough guesses, and keep every estimate looking like it came from the same established business — because that's exactly the impression you want to leave before a single tool comes out of your van.
Ready to grow?